Wednesday, June 26, 2013

Rainy day idea

Is it raining outside? 
(it has been here...for days and days)
Are your children telling you they are bored?  

Mine are

Well here is something that will keep them busy 
for a little while

years ago my mother had heard that if you go to your local newspaper they will give you the end of the roll of paper....that thing has lasted me 10 years.....

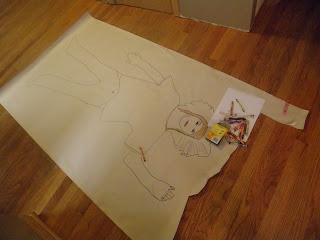
So we start with a big sheet of that paper and have your 
child lay down on the paper and trace them with a pencil and then re-outline with a sharpie....

next it is all up to them....they need to color themselves in....


I'll have to ask my little friend's mom for an updated pic.

I know some of my bigger kids and even I got in on the act and helped her color...it was fun!!  

Tuesday, June 25, 2013

Can't post anything new yet

I'm sorry I haven't posted anything in a while....but we've had a little glitch....my camera's memory card got accidentally wiped out.....well maybe not accidentally... but my instructions weren't completely understood and hence there are now no pictures on my memory card.  :-(   

Hope to post soon....having a friend recover photos for me.... keep your fingers and toes crossed.

Wednesday, June 12, 2013

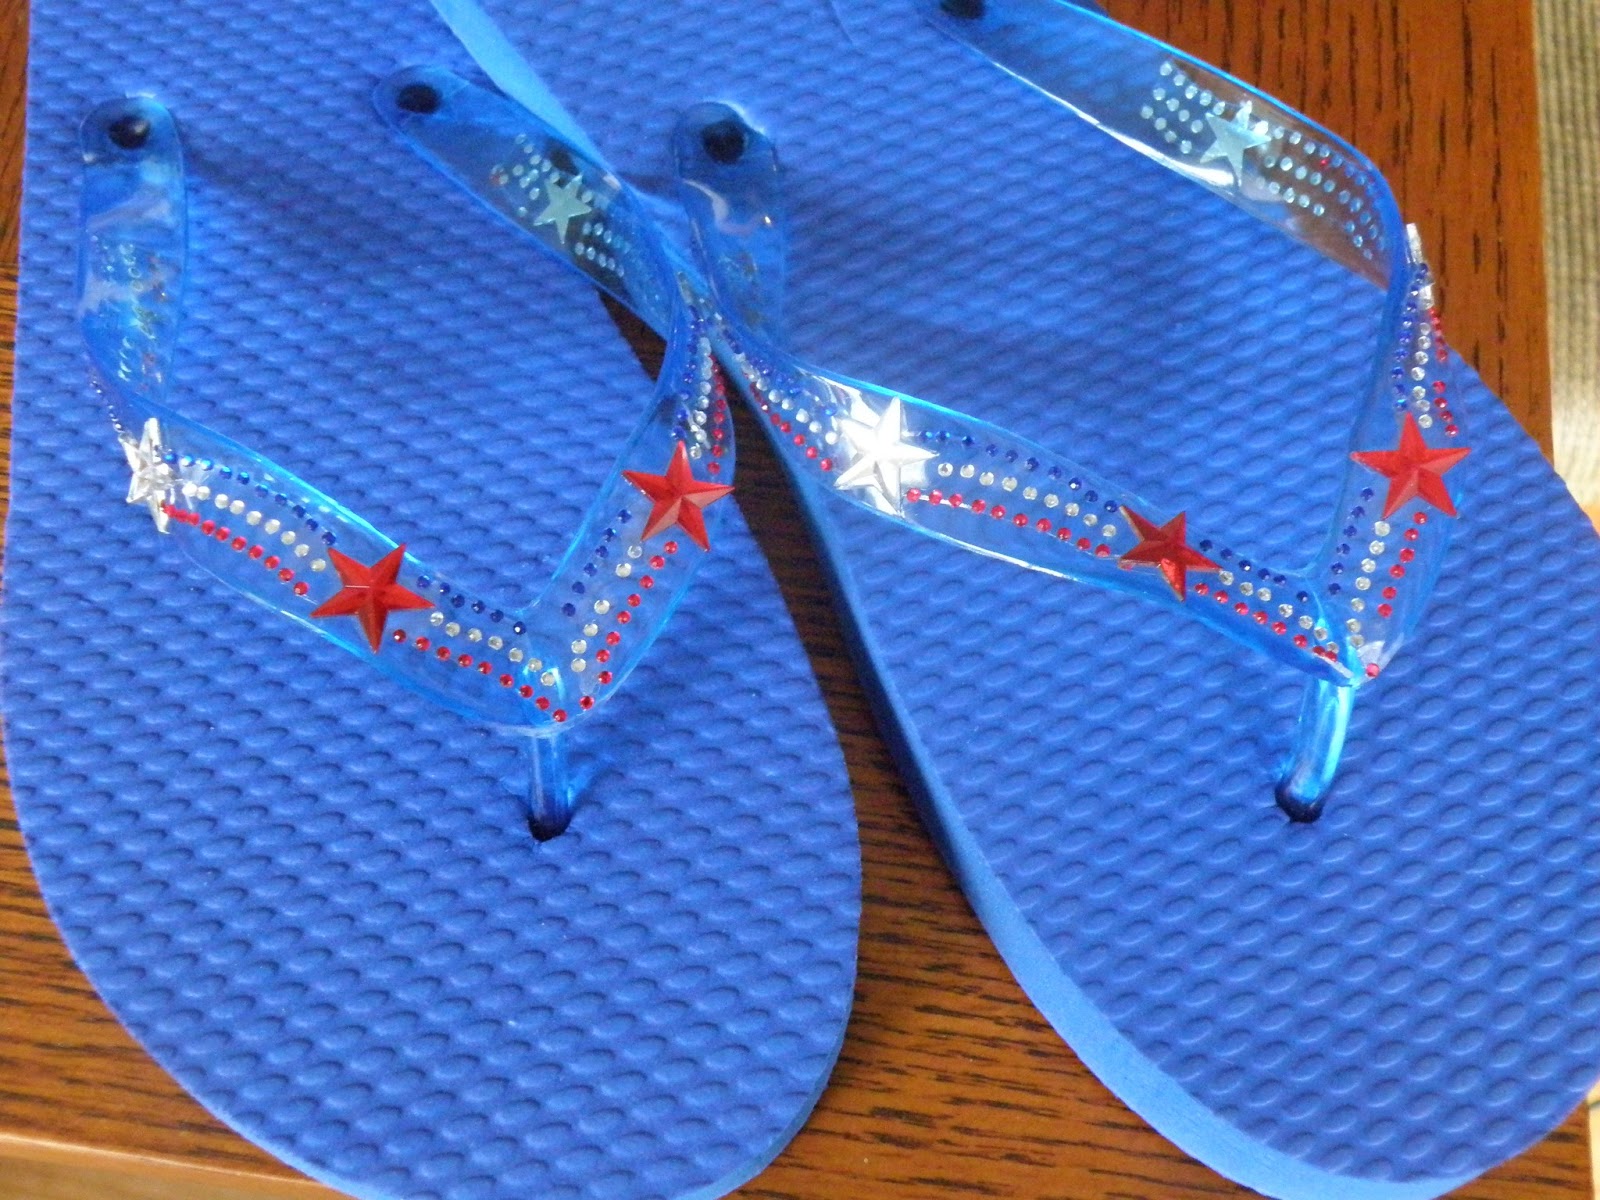
Decorated Flip Flops


So...right now Joann Fabrics they have a lot of their
summer craft stuff on sale....the flip flops were 70% off 
and the stickers
were 50% off...


I told the girls to wipe the flip flop straps with Windex 
to get the oils off,
so the stickers would have a better chance of sticking.

A little bit of a tricky business...getting them straight

Cute!!!


And easy!!!


Wednesday, June 5, 2013

Cute Fringy T-Shirt


get a t-shirt that is a little bit bigger....

Cut off the collar

Cut the sleeves off 
or leave them on and cut the hem off and
stretch them and make fringe there too...

Mark where you want your fringe to start
(do this by trying on the shirt and marking it
with a pencil)

Start cutting and pulling the strips to stretch them....
they kind of curl up....so cute...

This can be done with thrift store shirts or garage sale shirts...

Wednesday, May 29, 2013

Lamp Shade

I've had many lamp shade ideas over the past year but got a new inspiration from my niece.

We were visiting this past week during my visit to my hometown and we were talking craft stuff and she said
"Aunt Val, what would you do with these?"
as she plopped down a shoe storage container full of sets of earrings.... it didn't take me long to figure it out.

We had just discussed a new lamp shade and then I saw these earrings which were all about the same length and all I could think of was "fringe".....beaded fringe.

so this is what we came up with...


List of supplies

(I love dollar tree scissors....they are cheap and cut 
great for quite a long time)

trim or other decorations
craft paper or wrapping paper for pattern
pencil
ruler


first start by laying your lamp shade on the craft paper....seam down and start rolling slowly and drawing your edges with a pencil to trace the shape of the shade.


cut out your pattern


next lay your pattern on your fabric and pin it down.

cut out your fabric giving an extra half inch or more on all edges.


spray your starting edge with spray adhesive and line up the fabric on your shade.  If you think you have it lined up correctly....go ahead and start spraying your fabric and start smoothing it onto the shade.
(as you can see...we had some issues with our spray adhesive...we were tipping it down and it was dripping...so you definitely need to hold it up and spray it...and if you can take it outside, that would be a good idea or you will have a sticky floor....
we ended up doing a double layer of fabric to cover the drips...)


Next we measured 3/4 of an inch between and marked with a pencil, then we used an awl to pierce holes in the shade ..... 
WATCH YOUR FINGERS!


Then came the fun part.....first Heather had to figure out the colors she wanted and come up with a pattern and then it was time to put the earrings on the shade.

We then used some ribbon to hot glue over the earring wires at the bottom and at the top....I put pleats in every 2 inches or so to make going around the curves easier.


then....tuck in all your edges and glue them down...

And you have a new shade....
I thought I'd enclose a picture of what the shade looked like before we covered it....we didn't get a pic of the pleated part that we pulled off....but then we found out how brittle the shade was .....as we kept saying "oops!" and hole after hole appeared....  :-)  so we covered it with duct tape to hold it together... hee hee
we did cover all the gaps so that they wouldn't
show through the fabric when the lamp was on....


Tuesday, May 21, 2013

Wedding Shadow Box

Wanted to share this wonderful idea by a friend of mine....

Wedding Shadow Box


What a great way to remember your
special day

(I love that she even put her earrings in there...)

Thank you Jill, for sharing your creativity!!!

:-)

Monday, May 6, 2013

Creative gardening craft

My sister and her husband came up with this creative idea for
a window box made with left over gutters.


Very Nice!!! 

thank you for letting me share your idea