I've had many lamp shade ideas over the past year but got a new inspiration from my niece.
We were visiting this past week during my visit to my hometown and we were talking craft stuff and she said
"Aunt Val, what would you do with these?"
as she plopped down a shoe storage container full of sets of earrings.... it didn't take me long to figure it out.
We had just discussed a new lamp shade and then I saw these earrings which were all about the same length and all I could think of was "fringe".....beaded fringe.
so this is what we came up with...

List of supplies

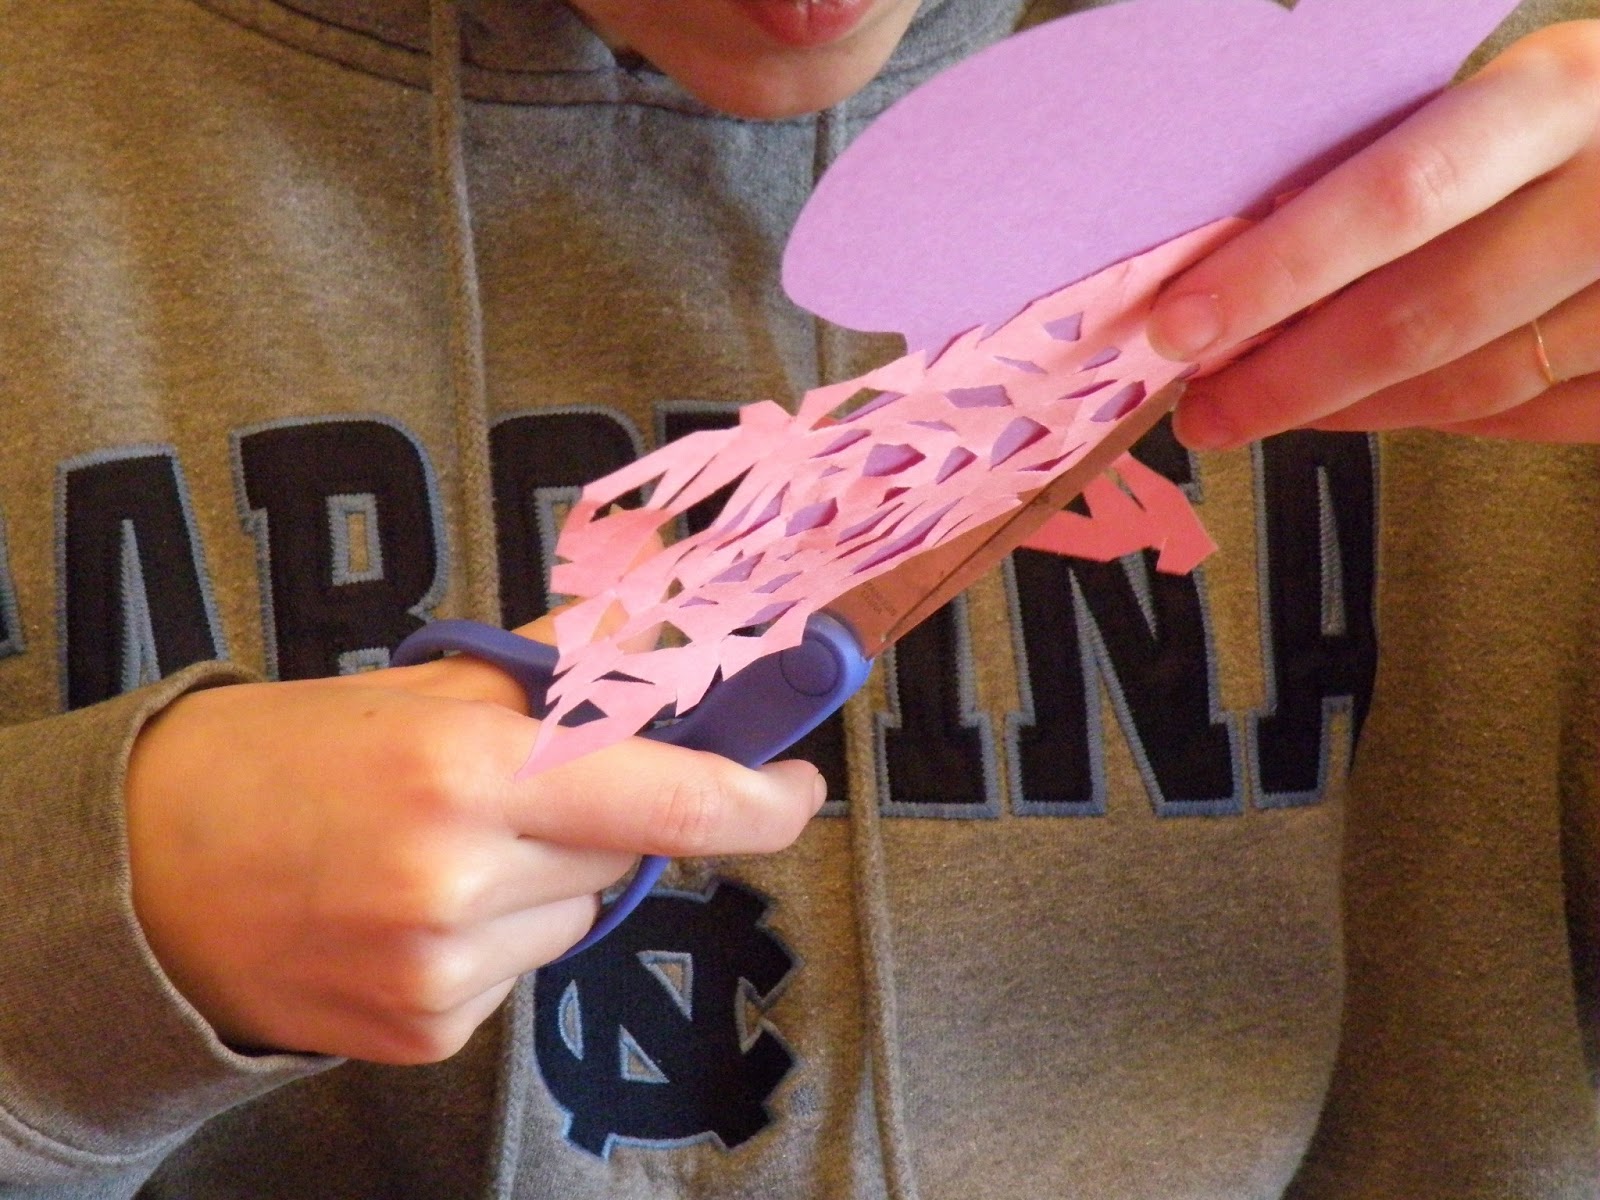
(I love dollar tree scissors....they are cheap and cut
great for quite a long time)
trim or other decorations
craft paper or wrapping paper for pattern
pencil
ruler


first start by laying your lamp shade on the craft paper....seam down and start rolling slowly and drawing your edges with a pencil to trace the shape of the shade.


cut out your pattern

next lay your pattern on your fabric and pin it down.
cut out your fabric giving an extra half inch or more on all edges.


spray your starting edge with spray adhesive and line up the fabric on your shade. If you think you have it lined up correctly....go ahead and start spraying your fabric and start smoothing it onto the shade.
(as you can see...we had some issues with our spray adhesive...we were tipping it down and it was dripping...so you definitely need to hold it up and spray it...and if you can take it outside, that would be a good idea or you will have a sticky floor....
we ended up doing a double layer of fabric to cover the drips...)

Next we measured 3/4 of an inch between and marked with a pencil, then we used an awl to pierce holes in the shade .....
WATCH YOUR FINGERS!

Then came the fun part.....first Heather had to figure out the colors she wanted and come up with a pattern and then it was time to put the earrings on the shade.
We then used some ribbon to hot glue over the earring wires at the bottom and at the top....I put pleats in every 2 inches or so to make going around the curves easier.

then....tuck in all your edges and glue them down...
And you have a new shade....
I thought I'd enclose a picture of what the shade looked like before we covered it....we didn't get a pic of the pleated part that we pulled off....but then we found out how brittle the shade was .....as we kept saying "oops!" and hole after hole appeared.... :-) so we covered it with duct tape to hold it together... hee hee
 we did cover all the gaps so that they wouldn't
show through the fabric when the lamp was on....

(as you can see...we had some issues with our spray adhesive...we were tipping it down and it was dripping...so you definitely need to hold it up and spray it...and if you can take it outside, that would be a good idea or you will have a sticky floor....
we ended up doing a double layer of fabric to cover the drips...)
Next we measured 3/4 of an inch between and marked with a pencil, then we used an awl to pierce holes in the shade .....
WATCH YOUR FINGERS!

Then came the fun part.....first Heather had to figure out the colors she wanted and come up with a pattern and then it was time to put the earrings on the shade.
We then used some ribbon to hot glue over the earring wires at the bottom and at the top....I put pleats in every 2 inches or so to make going around the curves easier.

then....tuck in all your edges and glue them down...
And you have a new shade....
I thought I'd enclose a picture of what the shade looked like before we covered it....we didn't get a pic of the pleated part that we pulled off....but then we found out how brittle the shade was .....as we kept saying "oops!" and hole after hole appeared.... :-) so we covered it with duct tape to hold it together... hee hee

show through the fabric when the lamp was on....